Jump to content

... homemade journal ...


TMLee

Recommended Posts

  • Replies 1.8k
  • Created
  • Last Reply

Top Posters In This Topic

  • TMLee

    1127

  • mhguda

    32

  • pen2paper

    23

  • my63

    20

Top Posters In This Topic

Posted Images

Now that is excellent I wish I could draw


Michael


AWESOME !!!!


Love the layout and theme.


Can't wait to get my hands on some.


The detail and choice of pens is great.


Thanks :D

... 671 crafted ... one at a time ... ☺️

instagram

Link to comment
Share on other sites

This is Journal 178 "FPDay 2013" completed ...


Front

http://i1339.photobucket.com/albums/o704/tmleem4/JOURNALS/2013/178%20FPD%202013/DSCF2506_zps17de94ba.jpg


Rear

http://i1339.photobucket.com/albums/o704/tmleem4/JOURNALS/2013/178%20FPD%202013/DSCF2513_zpsf1a0efc7.jpg


Band deployed

http://i1339.photobucket.com/albums/o704/tmleem4/JOURNALS/2013/178%20FPD%202013/DSCF2512_zpsde3d93e1.jpg


http://i1339.photobucket.com/albums/o704/tmleem4/JOURNALS/2013/178%20FPD%202013/DSCF2515_zps4b44ed4a.jpg


Rice white stitches

http://i1339.photobucket.com/albums/o704/tmleem4/JOURNALS/2013/178%20FPD%202013/DSCF2510_zpsa340541d.jpg


http://i1339.photobucket.com/albums/o704/tmleem4/JOURNALS/2013/178%20FPD%202013/DSCF2520_zpsb840da5a.jpg


7 Signatures

The piercing was done from inside to outside, using a template

http://i1339.photobucket.com/albums/o704/tmleem4/JOURNALS/2013/178%20FPD%202013/DSCF2511_zps5fe129a0.jpg


Full spread

http://i1339.photobucket.com/albums/o704/tmleem4/JOURNALS/2013/178%20FPD%202013/DSCF2518_zps54a793ee.jpg


http://i1339.photobucket.com/albums/o704/tmleem4/JOURNALS/2013/178%20FPD%202013/DSCF2519_zps9a9d8d59.jpg


The front flyleaf

http://i1339.photobucket.com/albums/o704/tmleem4/JOURNALS/2013/178%20FPD%202013/DSCF2521_zps39b6c608.jpg


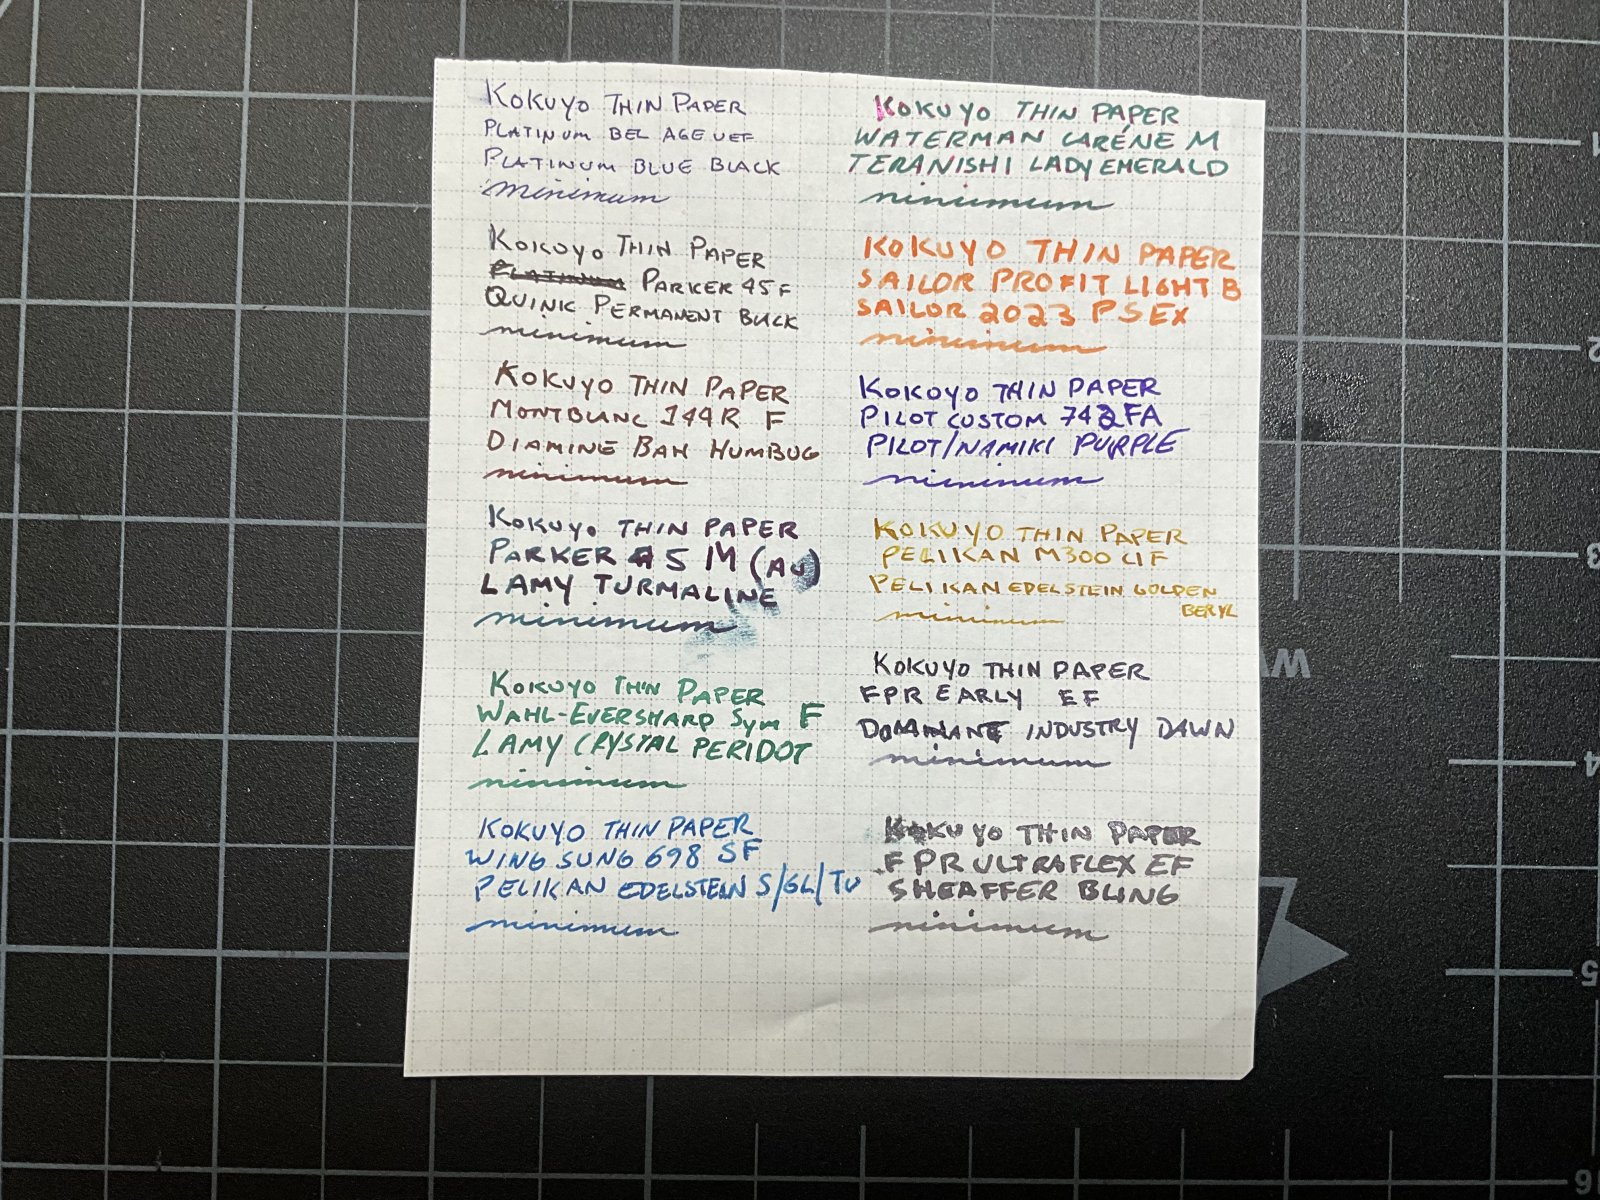
Inktestpage

http://i1339.photobucket.com/albums/o704/tmleem4/JOURNALS/2013/178%20FPD%202013/DSCF2523_zpsad499d93.jpg


Colophon

http://i1339.photobucket.com/albums/o704/tmleem4/JOURNALS/2013/178%20FPD%202013/DSCF2524_zps9df3e122.jpg


This year I decided to make vintage pens the theme ...

http://i1339.photobucket.com/albums/o704/tmleem4/JOURNALS/2013/178%20FPD%202013/DSCF2517_zps3a9cd4c5.jpg


http://i1339.photobucket.com/albums/o704/tmleem4/JOURNALS/2013/178%20FPD%202013/DSCF2516_zpsf402b984.jpg


http://i1339.photobucket.com/albums/o704/tmleem4/JOURNALS/2013/178%20FPD%202013/DSCF2514_zps97da7c61.jpg


7 Signatures , 4 Folios each , total 112 writing pages

paper is

NATURALIS , Vanilla White , 135g, Smooth


... 671 crafted ... one at a time ... ☺️

instagram

Link to comment
Share on other sites

This thread is finally eliciting a reply from a lurker. What is the textured cover material and how do you get the art onto the textured cover material?


I am an avid follower of this thread and it has inspired me to try my hand with the 2 needle coptic stitch.You make it look so easy to be consistent but I've yet to get all the stitches on the spine to approach your technique.


I'd heap praise upon you but I'm hoping that goes without saying. You have my respect for your work and how you generously share your developing technique.


Regards, Richard

Hi Richard,

Thank you for your kind words :)


Your question has been answered before .

I described very early on in this thread, when I first started incorporating my personal sketches onto the covers.


I call this my white series of journals.


The paper on the cover is that you find commonly on desktop flip calendars.

You only need to look for suppliers or bookbinders (or who else?) who sell them.


What I did was to photocopy my sketches onto them.

They are about 120gsm which a home copier can manage.


As for stitching, you have to keep practising to get better at it.

There are bookbinding forums too on the Internet which you can learn from.

Along the way, being patient helps a great deal.

For every journal you make, just go back and analyse and figure out what are those parts you wish to see improved.

When you do that with a keen eye and a large dose of patience, you will discover (and invent) new ways to improve your technique.


Having someone to show you how is ideal.

But not all of us are that fortunate.

But then again, that's where the great benefit of the Internet lies. :)

... 671 crafted ... one at a time ... ☺️

instagram

Link to comment
Share on other sites

Thanks for the reply. You fooled us on this one. Both my wife and I thought you had transferred the image to a textured book cloth. Knew you photocopied your art. It was the texture of the paper that had me wondering.


Most of what I've learned is from the Keith Smith books ( my daughter loaned me her copies) and from the FPN posts by TMLee. That's you. Wow. Thank you.

Oh I see :)

Now I understand why you were asking that.


It is no wonder that that paper is called 'New Linen - Wove" ...

Yup it's meant to mimic cloth.

Wait till you see the other cloth textures in this range of paper :)


Yes Keith Smiths books are great.

But it's a bit challenging trying to follow the diagrammatic illustrations.

A YouTube version (of anything for that matter) , you can imagine , really really communicates so much more effectively.

... 671 crafted ... one at a time ... ☺️

instagram

Link to comment
Share on other sites

... HOW I MAKE & USE SCRAP PAPER ...


In crafting my journals , I use scrap paper very freely especially each time I am applying glue .


For EVERY gluing operation, I ALWAYS use a clean sheet of scrap paper.


ALWAYS discard that sheet of scrap paper even though you think its still clean (unstained) and can be reused.

The reason is that sometimes, that sheet of scrap paper is stained with glue - and you don't realize or cannot see it - except of course , after an 'accident' happens.

That stain can be very very tiny.

So when you unknowingly lay a finished surface of your journal on this scrap, the glue gets transferred and stains your craft , ruining hours of careful labour.

PVA glue is fantastic.

It can be cleaned away quickly with water since its water-soluble.

BUT , in cleaning it away with water, you have already created a (bigger) stain on your handiwork.


I am sure those of you who have tried bookbinding will understand.


Some bookbinders buy a fresh ream of cheap paper and use them as scrap in much the same way - ie, for every gluing operation.


They do not use newspapers becos the newsprint ink comes off easily, stains your fingers, stains your work, and inkstained fingers spread ink over everything you touch.

And often, you dont realize till its too late.


( This is crucial if your journal is pristine white like the one featured above recently. )


What they do , is to take a stack of them papers , and then apply PVA glue on one edge , turning them into a book .

Then as they need a sheet of scrap, they just tear off a page to use them.


Its a neat way of working and keeping your workbench tidy and less cluttered.


I do the same thing.

Except that I use magazines.


What I do is to recycle old magazines , or magazines that you don't want anymore and destined for the recycling bin. Better still if the magazine is of good paper quality.


This is what I do ...


1) Take an unwanted magazine , cut away the spine.

(you can save the covers if they are good quality paper and you have use for them , like I do)


http://i169.photobucket.com/albums/u236/TMLee/Stationery%20Paraphernalia/Scrap%20Paper/DSCF2527.jpg


2) Pick any edge to apply PVA glue on it.

Can be its long edge or short edge.

This example below is the long edge.


2a) I learnt from experience that to make the pages easily tear-able , I slope the edge that I want to glue,

Like so ...

http://i169.photobucket.com/albums/u236/TMLee/Stationery%20Paraphernalia/Scrap%20Paper/DSCF2528.jpg


Closeup

http://i169.photobucket.com/albums/u236/TMLee/Stationery%20Paraphernalia/Scrap%20Paper/DSCF2529.jpg


The reason for doing this, is to allow your fingers to easily tear off a single sheet.

Becos the free (unglued ) edge is like this ...

http://i169.photobucket.com/albums/u236/TMLee/Stationery%20Paraphernalia/Scrap%20Paper/DSCF2530.jpg


Try it ...

Its much quicker to lift off a single sheet and just tear off. :)


This is another example ,

But the glued edge is at the top - like in notepad format ...

http://i169.photobucket.com/albums/u236/TMLee/Stationery%20Paraphernalia/Scrap%20Paper/DSCF2531.jpg


Again the edge is sloped

http://i169.photobucket.com/albums/u236/TMLee/Stationery%20Paraphernalia/Scrap%20Paper/DSCF2532.jpg


Closeup

http://i169.photobucket.com/albums/u236/TMLee/Stationery%20Paraphernalia/Scrap%20Paper/9646e7cb-1195-4293-b19c-23dd90a3cc62.jpg

Edited by TMLee

... 671 crafted ... one at a time ... ☺️

instagram

Link to comment
Share on other sites

  • 1 month later...

This is Journal 173 "Midnight Blue Bookcloth" A6 size


with corner accents in leather , camel coloured.


I like the deep blue, its kind of stately, elegant.


The leather was skived down thin before applying to the corners.


This pic shows the clamping overnight, hence the corner folds are really flat.


http://i169.photobucket.com/albums/u236/TMLee/2011/2013/2013%20Journals/Journal%20173%20Midnight%20Blue%20Bookcloth/005.jpg


http://i169.photobucket.com/albums/u236/TMLee/2011/2013/2013%20Journals/Journal%20173%20Midnight%20Blue%20Bookcloth/006.jpg


http://i169.photobucket.com/albums/u236/TMLee/2011/2013/2013%20Journals/Journal%20173%20Midnight%20Blue%20Bookcloth/003.jpg


The covers wrapped ..

http://i169.photobucket.com/albums/u236/TMLee/2011/2013/2013%20Journals/Journal%20173%20Midnight%20Blue%20Bookcloth/008.jpg


As usual, I prefer my corner accents to be flushed ...

no matter what material ...

http://i169.photobucket.com/albums/u236/TMLee/2011/2013/2013%20Journals/Journal%20173%20Midnight%20Blue%20Bookcloth/010.jpg


I decided on a bright , contrasting flyleaves .... orange ...

to add a dash of colour to the dark covers ..

http://i169.photobucket.com/albums/u236/TMLee/2011/2013/2013%20Journals/Journal%20173%20Midnight%20Blue%20Bookcloth/014.jpg


The journal stitched ...

http://i169.photobucket.com/albums/u236/TMLee/2011/2013/2013%20Journals/Journal%20173%20Midnight%20Blue%20Bookcloth/DSCF8094.jpg


Full spread

http://i169.photobucket.com/albums/u236/TMLee/2011/2013/2013%20Journals/Journal%20173%20Midnight%20Blue%20Bookcloth/DSCF8100.jpg


Now with the accent in view ..

http://i169.photobucket.com/albums/u236/TMLee/2011/2013/2013%20Journals/Journal%20173%20Midnight%20Blue%20Bookcloth/DSCF8101.jpg


I decided on beige threads to match the camel coloured leather corner accents ...

http://i169.photobucket.com/albums/u236/TMLee/2011/2013/2013%20Journals/Journal%20173%20Midnight%20Blue%20Bookcloth/DSCF8104.jpg


http://i169.photobucket.com/albums/u236/TMLee/2011/2013/2013%20Journals/Journal%20173%20Midnight%20Blue%20Bookcloth/DSCF8103.jpg


http://i169.photobucket.com/albums/u236/TMLee/2011/2013/2013%20Journals/Journal%20173%20Midnight%20Blue%20Bookcloth/DSCF8105.jpg


Band deployed

http://i169.photobucket.com/albums/u236/TMLee/2011/2013/2013%20Journals/Journal%20173%20Midnight%20Blue%20Bookcloth/DSCF8099.jpg


The pocket

http://i169.photobucket.com/albums/u236/TMLee/2011/2013/2013%20Journals/Journal%20173%20Midnight%20Blue%20Bookcloth/DSCF8109.jpg


Inktestpage

http://i169.photobucket.com/albums/u236/TMLee/2011/2013/2013%20Journals/Journal%20173%20Midnight%20Blue%20Bookcloth/DSCF8106.jpg


Colophon

http://i169.photobucket.com/albums/u236/TMLee/2011/2013/2013%20Journals/Journal%20173%20Midnight%20Blue%20Bookcloth/DSCF8107.jpg


Paper is NATURALIS , Vanilla White , 135gsm, Smooth

7 Signatures, 4 Folios each, total 112 writing pages


http://i169.photobucket.com/albums/u236/TMLee/2011/2013/2013%20Journals/Journal%20173%20Midnight%20Blue%20Bookcloth/DSCF8096.jpg


... 671 crafted ... one at a time ... ☺️

instagram

Link to comment
Share on other sites

This is Journal 175A "Jungle Gym" but in A6 size


http://i169.photobucket.com/albums/u236/TMLee/2011/2013/2013%20Journals/Journal%20175%20A5%20Jungle%20Gym/175A%20Jungle%20Gym/DSCF8269.jpg


Back

http://i169.photobucket.com/albums/u236/TMLee/2011/2013/2013%20Journals/Journal%20175%20A5%20Jungle%20Gym/175A%20Jungle%20Gym/DSCF8272.jpg


Band deployed

http://i169.photobucket.com/albums/u236/TMLee/2011/2013/2013%20Journals/Journal%20175%20A5%20Jungle%20Gym/175A%20Jungle%20Gym/DSCF8273.jpg


For this journal I decided to try out something different.

I chanced upon other DIY bookbinding samples on the web.

And I saw one with tapered, , sloping, even curved stitches .


and so i attempted the same....

this one is a chevron pattern ...


http://i169.photobucket.com/albums/u236/TMLee/2011/2013/2013%20Journals/Journal%20175%20A5%20Jungle%20Gym/175A%20Jungle%20Gym/DSCF8276.jpg


closeup,

somehow I see the middle station on the middle signature , straining ...

http://i169.photobucket.com/albums/u236/TMLee/2011/2013/2013%20Journals/Journal%20175%20A5%20Jungle%20Gym/175A%20Jungle%20Gym/DSCF8277.jpg


I chose yellow to add to the lighthearted theme ...

http://i169.photobucket.com/albums/u236/TMLee/2011/2013/2013%20Journals/Journal%20175%20A5%20Jungle%20Gym/175A%20Jungle%20Gym/DSCF8278.jpg


Full spread

http://i169.photobucket.com/albums/u236/TMLee/2011/2013/2013%20Journals/Journal%20175%20A5%20Jungle%20Gym/175A%20Jungle%20Gym/DSCF8280.jpg


http://i169.photobucket.com/albums/u236/TMLee/2011/2013/2013%20Journals/Journal%20175%20A5%20Jungle%20Gym/175A%20Jungle%20Gym/DSCF8281.jpg


Black flyleaves

http://i169.photobucket.com/albums/u236/TMLee/2011/2013/2013%20Journals/Journal%20175%20A5%20Jungle%20Gym/175A%20Jungle%20Gym/DSCF8283.jpg


as in its larger A5 size counterpart completed earlier, I was able to make co-ordinated hinges for the pocket.

http://i169.photobucket.com/albums/u236/TMLee/2011/2013/2013%20Journals/Journal%20175%20A5%20Jungle%20Gym/175A%20Jungle%20Gym/DSCF8285.jpg


Its function as a windowlight to the dark pocket remains intact ... :)

http://i169.photobucket.com/albums/u236/TMLee/2011/2013/2013%20Journals/Journal%20175%20A5%20Jungle%20Gym/175A%20Jungle%20Gym/DSCF8288.jpg


The inktestpage and colophon ...

http://i169.photobucket.com/albums/u236/TMLee/2011/2013/2013%20Journals/Journal%20175%20A5%20Jungle%20Gym/175A%20Jungle%20Gym/DSCF8289.jpg


http://i169.photobucket.com/albums/u236/TMLee/2011/2013/2013%20Journals/Journal%20175%20A5%20Jungle%20Gym/175A%20Jungle%20Gym/DSCF8290.jpg


http://i169.photobucket.com/albums/u236/TMLee/2011/2013/2013%20Journals/Journal%20175%20A5%20Jungle%20Gym/175A%20Jungle%20Gym/DSCF8293.jpg


... 671 crafted ... one at a time ... ☺️

instagram

Link to comment
Share on other sites

How do you get your edges the same length? When I make a what you call a signature, the edges make a triangle shape like in the picture. I can't come up with a good way to cut them to an even length.


http://i.imgur.com/bq14vAO.jpg?1

Link to comment
Share on other sites

How do you get your edges the same length? When I make a what you call a signature, the edges make a triangle shape like in the picture. I can't come up with a good way to cut them to an even length.


You can either measure and cut each signature with a precision blade carefully or use a large cutting guillotine or stack cutter. You'd have to borrow/buy one (the nice ones tend to get expensive but worth it if you do a lot of cutting). If you have a local printer they might also have a large cutter where they can be trimmed as a single stack.

Edited by fraktur
Link to comment
Share on other sites

How do you get your edges the same length? When I make a what you call a signature, the edges make a triangle shape like in the picture. I can't come up with a good way to cut them to an even length.


http://i.imgur.com/bq14vAO.jpg?1


Hi ,


Welcome to FPN .... :W2FPN:


That is what is known as the 'fishtail' effect.


It is a product of 2 factors :

  • the number of Folios in that Signature (more Folios = more pronounced 'fishtail' )
  • the thickness (grammage) of each sheet of Folio.

All the Signatures in my journals have this 'fishtail' effect.


I don't trim them away but I do ensure they don't become aesthetically unacceptable :)

I do this by limiting the number of Folios in any given Signature.


In my journals, one overriding design principle is to keep wastage as minimal as possible , if not avoidable altogether.

So I let the 'fishtails' remain there , ie , uncut.

Besides, I think it contributes to the handmade quality about them :)


The picture you posted seems to show quite many sheets of Folios in there.

My guess is around 15 to 20 ?


The other replies are right,

you can either trim them away,

or

have fewer Folios in each Signature.


I do trim away only when the situation warrants it , like I did here in one of my other threads here ...


https://www.fountainpennetwork.com/forum/index.php/topic/163993-how-to-make-your-own-cahier/?p=2711300


In this example, it was a Cahier , so its a single Signature kind of a binding.

The number of Folios was significant - 20 !

But the paper was the fabulous TOMOE RIVER paper - very thin at only 52gsm.

And becos it was so thin, the 'fishtail' effect was not that terrible.

( see the pic showing the extent of the fishtail I had to trim away. )


For the paper you are using, you have to decide how many Folios are needed in order that any one Signature can be sturdy enough to withstand the piercing and stitching.


HTH

Bests .... :D

Edited by TMLee

... 671 crafted ... one at a time ... ☺️

instagram

Link to comment
Share on other sites

Wow! That's all I can say about your work! I have been wanting to learn to make coptic stitch journals for quite some time. A friend and I are getting "starter kits" from Hollanders and begin the learning fun next month..

I can't imagine being as good as you are, which may lead to me begging to buy a journal from you!


Thanks for sharing your art!

<!-- isHtml:1 --><!-- isHtml:1 --><a class='bbc_url' href='http://www.musingcrowdesigns.com'>Musing Crow Designs

Link to comment
Share on other sites

Guest
This topic is now closed to further replies.


×
×
  • Create New...