Jump to content

Writing Slope Dilema


my63

Recommended Posts

What to do with the brass is determined by what you're doing to the box. If you're restoring it to original condition, then the brass should be polished.


If you're after an 'aged' look, then perhaps leave it as it is, or just give it a light polishing.


The nice thing about brass is that it doesn't rust.

http://www.throughouthistory.com/ - My Blog on History & Antiques


Link to comment
Share on other sites

  • Replies 714
  • Created
  • Last Reply

Top Posters In This Topic

  • my63

    337

  • Shangas

    74

  • fuchsiaprincess

    54

  • esterbex

    42

Top Posters In This Topic

Posted Images

This might be useful - there are several vids in the series.


"Every job is good if you do your best and work hard.

A man who works hard stinks only to the ones that have

nothing to do but smell."

Laura Ingalls Wilder


Link to comment
Share on other sites

Sorry I don't know what happened to my text in that reply

John I have just been reading about that very box on your blog I only have 45mm to play with if I want to put a slope on the top.

Do you make your own trays or buy them ready made.

Regards Michael

I make my own trays to fit the particular box. Email or message me from my profile here on FPN if you want to discuss how, and also to see if I can help you fit a tray in this box.

John

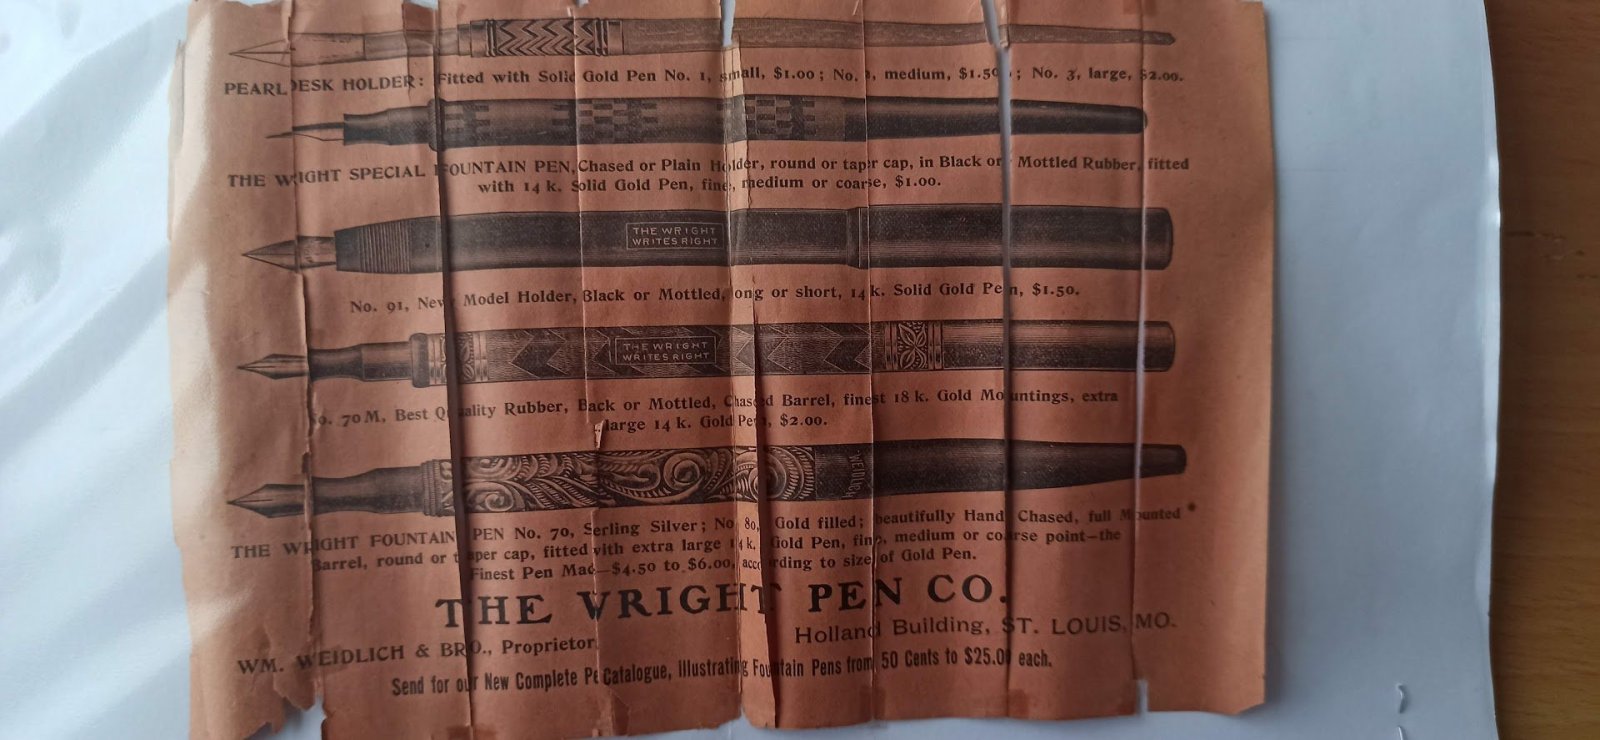
The Moonwalk Pen - honoring Apollo lunar landings
4-x-2-advertisement-copy-reduced-size.jp

Link to comment
Share on other sites

Thanks for the replys

Shangas that is todays dilema polish brass or not.

I am hoping the exterior will look as new. But I am still undecided about the brass.

Marlow thanks for the video I have viewed them lots of good information there, It would appear a veneer hammer is a usefull tool might have to make one of those.


The lower half of the box will contain two trays I made one last night.

I was meant to be the lower of the two but it is a little tight so it has become the upper tray I will make a new lower tray slightly smaller this time. :)

http://farm8.staticflickr.com/7260/7465595272_613b3499f1_z.jpg

IMG_1425 by my0771, on Flickr

The red tape is to help me getting it out.


The upper half I am leaning towards paper storage unless anyone has a better idea.


Thanks

Michael

For more details on my current projects please visit my blog.


https://my63leather.wixsite.com/my63


Link to comment
Share on other sites

My issue is that if you spend all that time dollying up the box and don't polish the brass, it's going to look like you did a skimp-job on it and it's gonna look trashy. And then all your efforts will look half-baked. It's why I suggested polishing the brass.

http://www.throughouthistory.com/ - My Blog on History & Antiques


Link to comment
Share on other sites

My issue is that if you spend all that time dollying up the box and don't polish the brass, it's going to look like you did a skimp-job on it and it's gonna look trashy. And then all your efforts will look half-baked. It's why I suggested polishing the brass.


that is a valid point I had not thought of it from that view any pointers on how to.

thanks

Michael

For more details on my current projects please visit my blog.


https://my63leather.wixsite.com/my63


Link to comment
Share on other sites

Polishing can be done in a number of ways. There's a lot of compounds and sprays and such that are out there.


Stuff like "Brasso", which is specifically for brass. There's also Simichrome, which is a polishing paste, there's a whole heap of others out there as well. To remove rust, you can use steel wool or VERY VERY fine sandpaper to rub it away. That *may* leave the brass with a sort of matte finish instead of a shiny finish. But I guess that depends on what you want.

http://www.throughouthistory.com/ - My Blog on History & Antiques


Link to comment
Share on other sites

Polishing can be done in a number of ways. There's a lot of compounds and sprays and such that are out there.


Stuff like "Brasso", which is specifically for brass. There's also Simichrome, which is a polishing paste, there's a whole heap of others out there as well. To remove rust, you can use steel wool or VERY VERY fine sandpaper to rub it away. That *may* leave the brass with a sort of matte finish instead of a shiny finish. But I guess that depends on what you want.


Thanks Shangas I will have a look at the brass next week.

For more details on my current projects please visit my blog.


https://my63leather.wixsite.com/my63


Link to comment
Share on other sites

Thanks to Bramapen who has given me advice on how to make the inner trays


http://farm8.staticflickr.com/7116/7465596074_39b2f6c009_z.jpg

IMG_1426_1 by my0771, on Flickr


http://farm9.staticflickr.com/8026/7465596946_40e4e56375_z.jpg

IMG_1427 by my0771, on Flickr


I cut a piece of plywood to fit iside the tray I had made. With the help of my 12yr old son we cut lenghts of 6mm dowel and stuck it to the plywood.

this was then covered in some material it is a fake alcantara looks like this


http://farm8.staticflickr.com/7277/7473965984_2008fa0c7d_z.jpg

IMG_1434 by my0771, on Flickr


http://farm9.staticflickr.com/8011/7473960972_07a7a8c804_z.jpg

IMG_1432 by my0771, on Flickr


http://farm9.staticflickr.com/8003/7474155950_108fa2c000_z.jpg

IMG_1436 by my0771, on Flickr


The bottom of the box is oak veneered plywood not as yet finished.

I need to sort hinges and other hardware.


I am still unsure about the inside of the writing slope I origionally thought I would just wax it and leave the ink stains as part of the box but it looks a bit dirty.

Please shout if you have any ideas


http://farm9.staticflickr.com/8028/7459610892_60c1068783_z.jpg

IMG_1415 by my0771, on Flickr


Thanks

Michael

For more details on my current projects please visit my blog.


https://my63leather.wixsite.com/my63


Link to comment
Share on other sites

How about covering it with new veneer?

http://i1027.photobucket.com/albums/y331/fuchsiaprincess/Fuchsiaprincess_0001.jpg http://fc02.deviantart.net/fs71/f/2010/036/2/2/Narnia_Flag_by_Narnia14.gif

Link to comment
Share on other sites

How about covering it with new veneer?


Thanks for the suggestion to be honest I am worried about applying new veneer on the outside I think the inside would be really difficult.


Thanks

Michael

For more details on my current projects please visit my blog.


https://my63leather.wixsite.com/my63


Link to comment
Share on other sites

Hi

When I made my first tray insert last week I kinda guessed it a little and one of the gaps was wider than the rest.

So today I pulled it apart I know it was a backward step but I could not live with it see if you can spot the mistake


http://farm9.staticflickr.com/8001/7473968794_547c36ed5e_z.jpg

IMG_1435 by my0771, on Flickr


So I went bacl to a blank board

http://farm9.staticflickr.com/8003/7474155950_108fa2c000_z.jpg

IMG_1436 by my0771, on Flickr


I made a template to space out the dowels I used a glue called mitre fast two parts and instant

http://farm9.staticflickr.com/8142/7494972442_1e4829a717_z.jpg

IMG_1440 by my0771, on Flickr


http://farm8.staticflickr.com/7117/7494985862_4070ea9dcf_z.jpg

IMG_1446 by my0771, on Flickr


http://farm9.staticflickr.com/8421/7495193366_f62cbdbb1a_z.jpg

IMG_1452 by my0771, on Flickr


I spread the glue out thinly with a small paint brush

http://farm8.staticflickr.com/7253/7495437672_12c1e6c3dd_z.jpg

IMG_1454 by my0771, on Flickr


I used two pieces of wood to smooth the material between the dowels holding the material inplace with one piece then smoothing over the next dowel.

http://farm9.staticflickr.com/8021/7495190948_f114c36c07_z.jpg

IMG_1451 by my0771, on Flickr


I glued 1 1/2 sections at a time

http://farm8.staticflickr.com/7109/7495457612_411aedc5b7_z.jpg

IMG_1456 by my0771, on Flickr


And only 1 hour later


http://farm8.staticflickr.com/7121/7495467460_e8306698bb_z.jpg

IMG_1460 by my0771, on Flickr


I will be putting the trays together tomorrow


Thanks

Michael

For more details on my current projects please visit my blog.


https://my63leather.wixsite.com/my63


Link to comment
Share on other sites

What a wonderful project!

I always wondered how people made those divider trays, when they didn't purchase the prefab ones.

"You have to be willing to be very, very bad in this business if you're ever to be good. Only if you stand ready to make mistakes today can you hope to move ahead tomorrow."

Dwight V. Swain, author of Techniques of the Selling Writer.

Link to comment
Share on other sites

Now it is catouche time I found one on ebay but it was quite expensive so I will just have to make one


http://farm9.staticflickr.com/8165/7502883710_f71b7023ab_z.jpg

IMG_1481 by my0771, on Flickr


http://farm9.staticflickr.com/8424/7502877592_255b3151e5_z.jpg

IMG_1478 by my0771, on Flickr


This picture is in the same place but with flash

http://farm9.staticflickr.com/8428/7502862248_88401890d4_z.jpg

IMG_1468 by my0771, on Flickr

Sorry this topic is getting a little picture heavy is there a limit?


Thanks

Michael

Edited by my63

For more details on my current projects please visit my blog.


https://my63leather.wixsite.com/my63


Link to comment
Share on other sites

Wow, Michael, you are doing a great job with this! :clap1:

"Every job is good if you do your best and work hard.

A man who works hard stinks only to the ones that have

nothing to do but smell."

Laura Ingalls Wilder


Link to comment
Share on other sites

Thanks marlow for the praise

I have a cartouche that fits in the hole now I made a direct replacement for what was there imperfections and all.

I will polish this up when I do the rest of the brss.

http://farm9.staticflickr.com/8155/7507366060_7a1047b1e0_z.jpg

IMG_1485 by my0771, on Flickr


I made this insert for the lid of the writing slope the other day it is not big enough for A4 paper which is a shame. the pictures dont show it very well I am afraid.

I would value any opinions that you can offer


http://farm9.staticflickr.com/8024/7507823850_3b1af245bf_z.jpg

IMG_1489_1 by my0771, on Flickr

Thanks

Michael

For more details on my current projects please visit my blog.


https://my63leather.wixsite.com/my63


Link to comment
Share on other sites

You know how much we are all enjoying this, correct?

Becoming the TMLee of writing slope threads : )

https://www.fountainpennetwork.com/forum/index.php?/topic/28367-homemade-journal/

"... homemade journal...I did it..." : )

Edited by pen2paper
Link to comment
Share on other sites

You know how much we are all enjoying this, correct?

Becoming the TMLee of writing slope threads : )


To be honest I just thought it was me and a couple of people who are interested in writing slopes.

I dont know what TMLee means.

I nearly stopped posting the pictures the other day but then Melissa posted that she had always wanted to know how the trays are made.

thanks for the knid words

Michael

For more details on my current projects please visit my blog.


https://my63leather.wixsite.com/my63


Link to comment
Share on other sites

Create an account or sign in to comment

You need to be a member in order to leave a comment

Create an account

Sign up for a new account in our community. It's easy!

Register a new account

Sign in

Already have an account? Sign in here.

Sign In Now


×
×
  • Create New...