Jump to content

Repair tools - let's see them!


algabatz

Recommended Posts

I posted this as a reply on a different topic but I find it so interesting (especially after watching the Pentiques live feed), that I'm starting a new topic.


Well, going down the lane of Ron Z, I have made most of my tools myself, or use readily available ones.

I would like to see Your pen-tools. Whether You use them or just collect them!


My pride and joy. A 1930's Vacumatic fitting block that I was only recently able to buy. Works like a charm and is a truly beautiful tool. It is a multi tool that lets me unscrew the vacumatic fillers of both standard and oversize pens, the brass pipe works with the knock out block to remove the feed/nib, even on older style Vacuum fillers where the section/body is in one piece. On the back it has a rubber "button" for unscrewing clip screws, it has three slots for setting the nibs just right and a small slot used to remove Duofold buttons.


post-6794-1239217718_thumb.jpg


1) An aluminium pellet pusher, front is used to get the vacpellet in place, the back is used for rolling the diaphragm up on the filler. Bought this at www.woodbin.ca.


2) A home made drill (i use chop sticks for the shafts) to remove broken ink tubes from feeds


3) A home made sac threader. Made from a metal spring imitating a Parker standard tool. I use it mainly for necked Duofold sacs.


4) An old letraset tool that i use when I need to glue in very small areas. I also use it to clean dirt from thredings.


5) An home made mini saw. I used the metallic sheeting from an old computer diskette and cut minute tines. Works surprisingly well.


6) Brush, again from Woodbin.


7) Dental tool scraper, from Woodbin


8) Dental tool that i ground very dull.


9) Watchmakers forceps, bought from ebay.


10) A curved scalpell, used to remove bandages. It goes through the whole wood and the back end is perfect to un-screw the brass clip jewel holders.


11) An home made needle/wire used to clean breather tubes and ink feeds, made from a safety pin.


12) An home made ink channel cleaner, same diskette metal as above. Also to clean between the nib tines. It has a rounded corner that slips neatly in when pushed from underneath the nib.


13) An home made pellet remover. I used a safety pin and bent the very end into a hook.


14) A watchmakers screwdriver kit, contains several different mini screwdrivers, from eBay.


post-6794-1239217727_thumb.jpg


1-2) Files


3) Swab used to clean inside of barrels.


4) Pressure pin with a soft end (old screwdriver) that i use to force the vacumatic filler out from the barrel if it's stuck.


5) An old vacumatic tool (for sale! ;-)


6) A heavy piece of metal that i use as a hammer.


7) A collection of small pliers, most with plain grips (non-ribbed).


8) Parallell pliers to extract and insert nibs (used with rubber buffing).


9) A pair of pliers ground to fine points, used for setting nibs.


10) Pliers used for gripping sections (I'm just bought a bionic grip that I'm going to try when it arrives.)


post-6794-1239217735_thumb.jpg


Clothes peg for gluing


Watchmaker's loupe


Watchmaker's loupe with a light


White, water based, correction fluid to enhance body imprints.


Home made Vacumatic lubricant. (Tragancanth and water.)


Shellac


Talcum powder


Wax, produced by British Museum to preserve artifacts.


post-6794-1239217742_thumb.jpg


That's all folks!


/T


Link to comment
Share on other sites

  • Replies 32
  • Created
  • Last Reply

Top Posters In This Topic

  • algabatz

    8

  • Buzz J

    4

  • APPLEMAN

    2

  • eckiethump

    2

Top Posters In This Topic

Posted Images

Your Vacumatic fitting block is gorgeous!!! How do you actually use the slots for setting the nibs? And thank you for posting all of these images and descriptions. When I get a chance I'll try to get some good images of a little flat-blade screwdriver that has a slightly, and perfectly, curved blade. It's great for prying up petrified sacs, etc.


My pride and joy. A 1930's Vacumatic fitting block that I was only recently able to buy. Works like a charm and is a truly beautiful tool. It is a multi tool that lets me unscrew the vacumatic fillers of both standard and oversize pens, the brass pipe works with the knock out block to remove the feed/nib, even on older style Vacuum fillers where the section/body is in one piece. On the back it has a rubber "button" for unscrewing clip screws, it has three slots for setting the nibs just right and a small slot used to remove Duofold buttons.


Link to comment
Share on other sites

Your Vacumatic fitting block is gorgeous!!! How do you actually use the slots for setting the nibs?


I just put the nib and feed together, push it a bit into the section, then I press the feed down into the slot, keeping a finger on top of the nib and with a firm movement slide the whole thing in. The brass keeps the nib in place and the slot keeps the feed in place. Only the section moves until it stops against the block. Excellent in it's simplicity if You do it right.


Thanks for commenting!


/Tony


http://parkercollector.com

Link to comment
Share on other sites

I think our current breed of tool fabricators need to have a good hard look at that Vacumatic gizmo. I know I'm coming very close to being willing to spend a goonish amount of money for a tool that will see the front end of a Vac back together.

Ravensmarch Pens & Books
It's mainly pens, just now....

Oh, good heavens. He's got a blog now, too.


fpn_1465330536__hwabutton.jpg

Link to comment
Share on other sites

I think our current breed of tool fabricators need to have a good hard look at that Vacumatic gizmo. I know I'm coming very close to being willing to spend a goonish amount of money for a tool that will see the front end of a Vac back together.


He he, well I can tell You that I did spend a lot of money on the vintage tool, but it sure was worth it!


Thanks for Your input.

/Tony

Link to comment
Share on other sites

Here's a couple:


First is very slightly modified version of Richard Binder's Vacumatic tool for pushing out stuck filler units. It still does that function, but it does a great job of measuring the exact inner cap distance that is available for the nib. The sleeve has enough friction that it slides when pushed. Simply push the sleeve close to the end, and insert into the cap. The sleeve hangs up on the edge of the inner cap and the inner tube travels on to ground into the top of the inner cap. Pull it out and the distance from the end of the sleeve to the end of the inner tube is exactly what is available for the nib. Essential when resetting a nib.


The second is a burnishing tool that has taken residence in an old Waterman pen.


http://i307.photobucket.com/albums/nn312/BuzzJ/JEJtools.jpg


Finally, this is one I've shown before. It's a jig to hold a Vacumatic filler unit exactly in place where my Dremel can drill out the pellet by sliding along the jig.


http://i307.photobucket.com/albums/nn312/BuzzJ/Whatisit003Medium.jpg


http://i307.photobucket.com/albums/nn312/BuzzJ/Whatisit004Medium.jpg

so many pens, so little time.......

Link to comment
Share on other sites

great stuff, guys! now we have a whole new class of things to collect and make use of ;) that vac tool is just , as they used to say, the cat's pajamas!

Check out my blog and my pens

Link to comment
Share on other sites

On another note, I take pretty poor pictures, besides the tools I make are for a function, so sometimes not finished in the parts that don't matter, as well as they could be.


If you have a dremel and drill, stock up on some silver steel, it's easy to work, and when the tool is ready, takes hardening and tempering very well. Lathe is usefull, but not in the budget or need of a lot of people.


Eric

Ignorance more frequently begets confidence than does knowledge (Charles Darwin)

http://www.wesonline.org.uk/

Link to comment
Share on other sites

Here's a couple:


First is very slightly modified version of Richard Binder's Vacumatic tool...


The second is a burnishing tool that has taken residence in an old Waterman pen.


http://i307.photobucket.com/albums/nn312/BuzzJ/JEJtools.jpg


These are flat out the coolest handles. Housing a pen tool in an old pen body is just genius, but the other one... is just awesome! It's so cool for the same reason that a Jumbo is cooler than a Dreadnaught. And I'll just leave it at that. :embarrassed_smile:


Tim

(Hey, I'm a visual thinker... I can't help it.)

The only sense that's common is nonsense...

Link to comment
Share on other sites

Here's a couple:


First is very slightly modified version of Richard Binder's Vacumatic tool...


The second is a burnishing tool that has taken residence in an old Waterman pen.


http://i307.photobucket.com/albums/nn312/BuzzJ/JEJtools.jpg


These are flat out the coolest handles. Housing a pen tool in an old pen body is just genius, but the other one... is just awesome! It's so cool for the same reason that a Jumbo is cooler than a Dreadnaught. And I'll just leave it at that. :embarrassed_smile:


Tim

(Hey, I'm a visual thinker... I can't help it.)


I lost this one in the Chicago airport. Lose a good tool and a pen (kind of) - it still ticks me off!


http://i307.photobucket.com/albums/nn312/BuzzJ/Lostburnisher.jpg

so many pens, so little time.......

Link to comment
Share on other sites

buzz you lost it or it was taken by the gate flunkies who guard the airport??


Cool tools shown here, the first one is amazing. Would love to find one of those.


Should take an image of my bench with some tools on it, of course that would mean that I would have to clean up a bit. :)


Cheers,

Sean

PenRx is no longer in business.

Link to comment
Share on other sites

Did you make your burnishers on the lathe - I can imagine how you get the tapered finish but how do you get the high polish finish?


Chris


I used 18-8 stainless steel tapers. They're cheap and come in various sizes. They are rough finished, so I sand with progressively finer sandpaper and finally polishing compounds. Chuck it up in your hand drill, drill press or lathe and sand away. All it takes is time and patience.


buzz you lost it or it was taken by the gate flunkies who guard the airport??


I dropped a three pen case out of my bag while awaiting my flight. The other two slots had a nice repeater Vac pencil and a "Clipless" Vac that I made (a great look, but the it would roll away!) Hmmm, maybe if I make another, it will take the sting out of the loss. Off to the laboratory!


John

so many pens, so little time.......

Link to comment
Share on other sites

I love this topic of making your own tools.


Keep posting them people it is so nice to see what people have been able to make up for them selves.


Thanks again


Chris

Appleman Pens

Orangeville, Ontario, Canada


Photo's Of Past Pens

My Blog


Phone 912-376-7165

Link to comment
Share on other sites

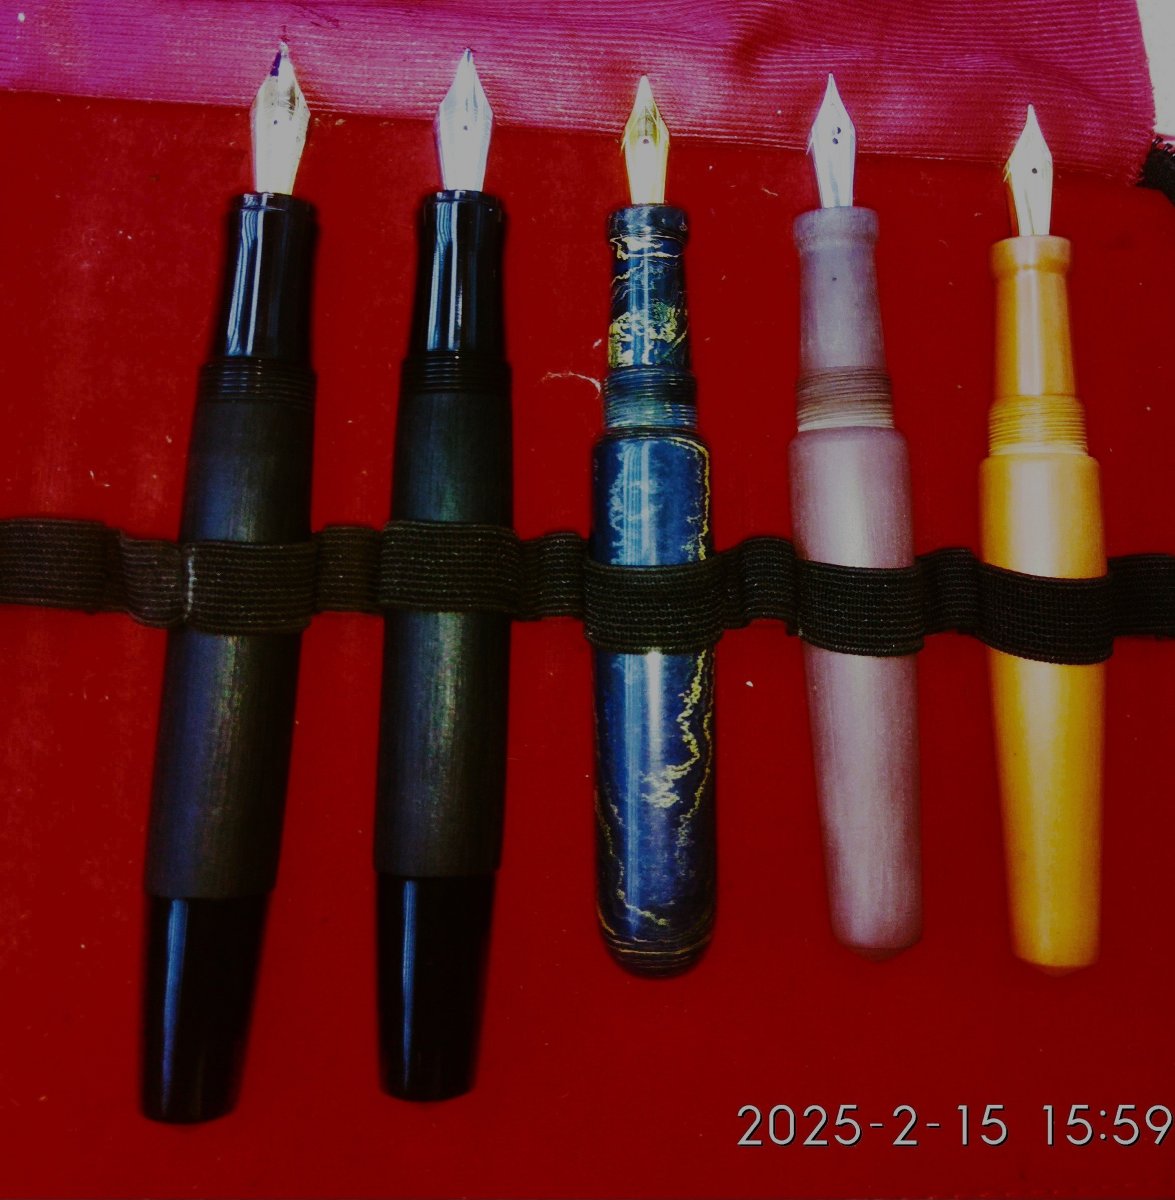
Here are a couple of tools I have put together


#1 This is a old pin vice I made up a new handle for to hold my mini saw that I use for putting my clips into my pens.


#2 Is an craft knife that unscrews out of the pen and spare blades are in the body of the open. When not in use the cap screws onto it to hide it all


#3 Is a small 3 jaw chuck that I think was to go into a screwdriver but I made up a handle for it and it gets quite a few uses around the shop


Chris

post-2152-1239715062_thumb.jpg

Appleman Pens

Orangeville, Ontario, Canada


Photo's Of Past Pens

My Blog


Phone 912-376-7165

Link to comment
Share on other sites

Here are a couple of tools I have put together


#1 This is a old pin vice I made up a new handle for to hold my mini saw that I use for putting my clips into my pens.


#2 Is an craft knife that unscrews out of the pen and spare blades are in the body of the open. When not in use the cap screws onto it to hide it all


#3 Is a small 3 jaw chuck that I think was to go into a screwdriver but I made up a handle for it and it gets quite a few uses around the shop


Chris


Love the handle on the middle one especially! It's so nice You'd want to eat it.


Thanks for sharing.

/Tony

Link to comment
Share on other sites

Create an account or sign in to comment

You need to be a member in order to leave a comment

Create an account

Sign up for a new account in our community. It's easy!

Register a new account

Sign in

Already have an account? Sign in here.

Sign In Now


×
×
  • Create New...