Search the Community
Showing results for tags 'tree'.
-
-
With its varied texture and limitless possibilities, tree bark is always fun to draw with pen and ink. Though it looks intimidating in the beginning, with simple strokes and techniques, pen is ideal medium to draw bark. Grab a good gel pen and follow along to do this pleasing pen and ink drawing. Step 1: Draw OutlineUse interesting shape and zagged edges to draw the outline as shown below. Step 2: Draw Bark PiecesDraw individual bark pieces as shown below with bigger towards the centre and smaller near the edges. Use zagged line and keep their distribution irregular. Step 3: Initial TextureUse dots and ticks as shown below to initially texture the pieces. Click on image to see details. Step 4: Darken One Side MoreTo bring out the form (curvature) of bark pieces, there has to be change in level of tone (darkness) across a piece. Light doesn't fall uniformly on a curved object with side away from Sun more darker than side towards the Sun. A simple technique is to make one edge of every bark piece darker to bring out the form of each bark piece. Use more of ticks and dots to darken left edge of every bark piece. Notice how the pieces below have more form compared to step 3 drawing. This is the basic process. Continue in this manner to texture the bark. Following are some more illustrations of adding more tone on one edge to bring out the form. Step 5: Add More CrevicesFollowing is how the drawing looks by using simple dots and ticks to texture bark pieces and darkening one side more. It already looks finished and you may decide to stop here. Further tone can be added using ticks and dots along the edges to give more impression of deeper grooves as I have done below. The contrast of more darker grooves and lighter areas makes the drawing more visually appealing. I have darkened the bark even further below with with deep crevices. There are no rules here but make sure that there is no feel of 'straightness' in your texturing. In other words, the edges and darker areas should all feel irregular. Keep your hand moving from one stop to another to achieve this. In the final drawing below, I added further grooves and crevices to give it a feel of old bark. There is no limit to such variations that can be done. This completes this post. With just dots and ticks, you can also draw the bark as done here. The possibilities are endless by using different overall bark shape, individual bark shapes and texturing of grooves and crevices. Give it a try. Hope you liked the post and if so, do let me know. You can also check out my FREE pen and ink drawing tutorials and pen and ink drawing workbooks to get started drawing pen and ink landscapes. Happy Drawing, Rahul Older Step by Step Pen and Ink Drawings Subscribe
-
Learn To Draw Landscapes In Pen And Ink
rahul_jain posted a topic in Fountain & Dip Pens - First Stop
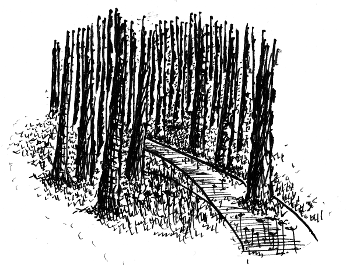
Try this simple landscape and follow along with the video...You can see lot more demonstrations of how to do simple landscapes on my YouTube channel. Also I have completely Free, fully illustrated tutorials to help you get started drawing in pen and ink and adopt this relaxing and creative hobby. Have a creative weekend, Rahul www.pendrawings.me